How to Make This DIY Leather Keychain
Making your own leather keychain is easier than you’d think! With the proper tools, working with leather is a fun challenge that is great for advanced DIYers. Check out the tutorial below to learn how to make your own leather keychain, and be sure to try your hand at other leather crafts!
How to Make This DIY Leather Keychain
If you’re looking for a DIY challenge, look no further – this leather keychain is a great intro into the world of leather-working. With the proper tools and equipment, you can make your own keychain that looks totally professional. This leather keychain is as stylish as it is durable, and it’s a great way to keep your keys organized. Check out the steps below to see how it’s done, and be sure to leave your own leather-working tips in the comments!
Leather keychain supplies:
- Leather (or faux leather if you’d prefer)
- X-Acto Knife
- Cutting mat
- Keychain hook
- Leather awl
- Rotary hole punch
- Eco Flo Gum Tragacanth and wool dauber
- Dremel leather burnisher
- Snap set
- Setting tool
- Double-face soft mallet
- Key ring
How to make your leather keychain:
Step 1: Cut out your leather into a rectangular strip.
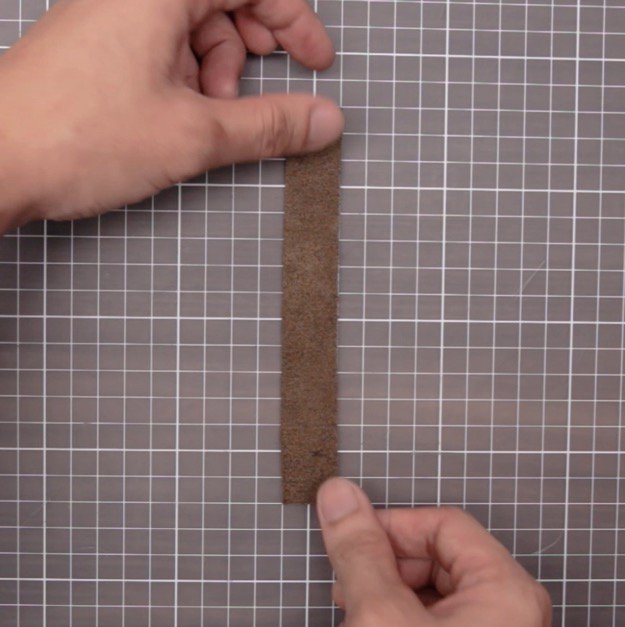
Step 2: Fold the strip in half, then cut the corners.
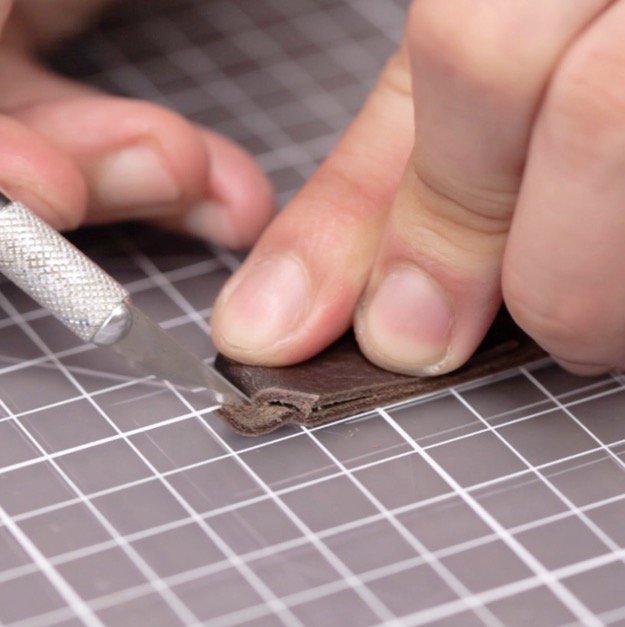
Step 3: Fold the strip over the metal keychain.
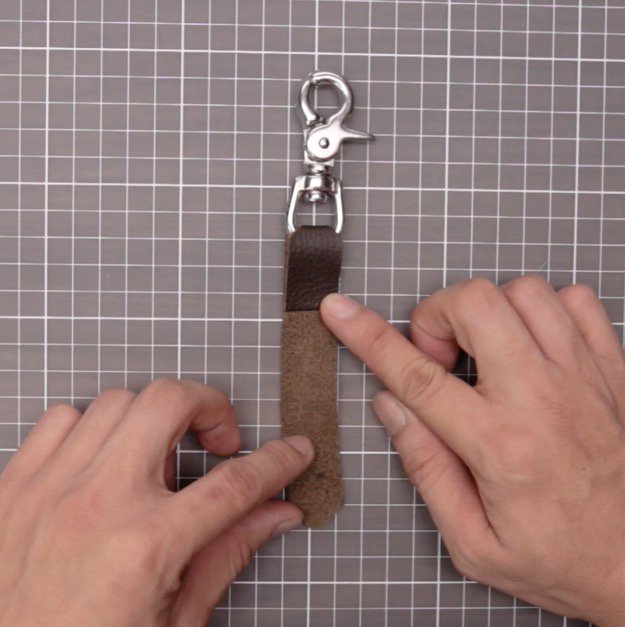
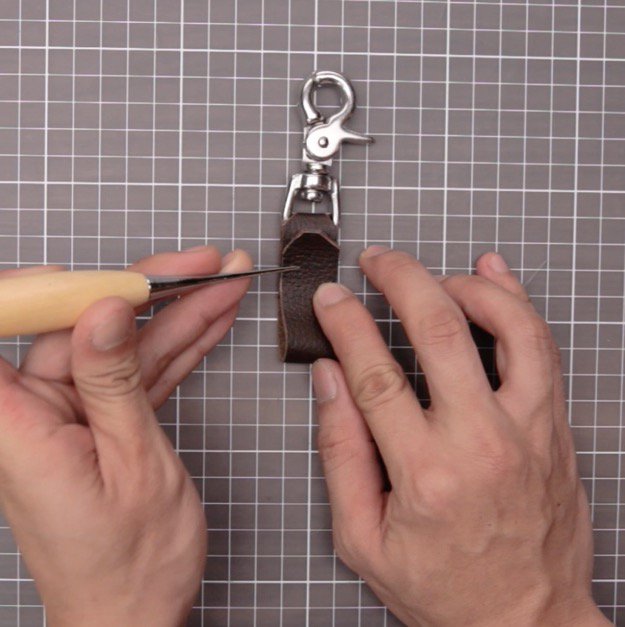
Step 4: Use an awl to mark a hole for the closure.
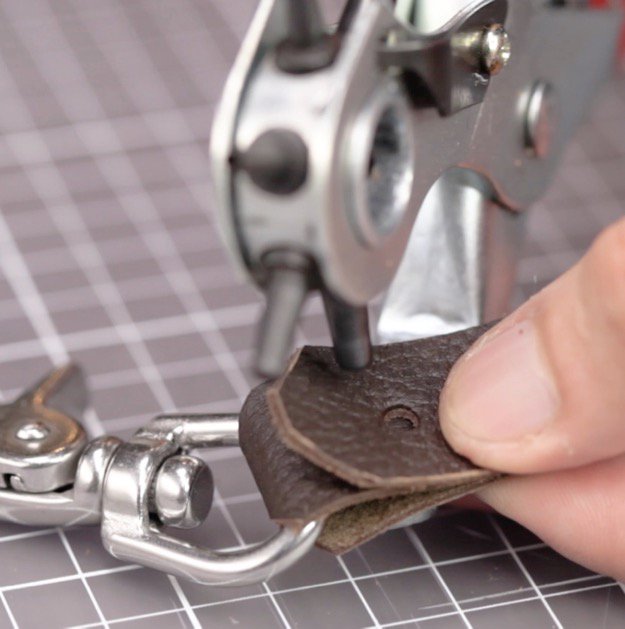
Step 5: Make a hole through the leather using your rotary hole punch.
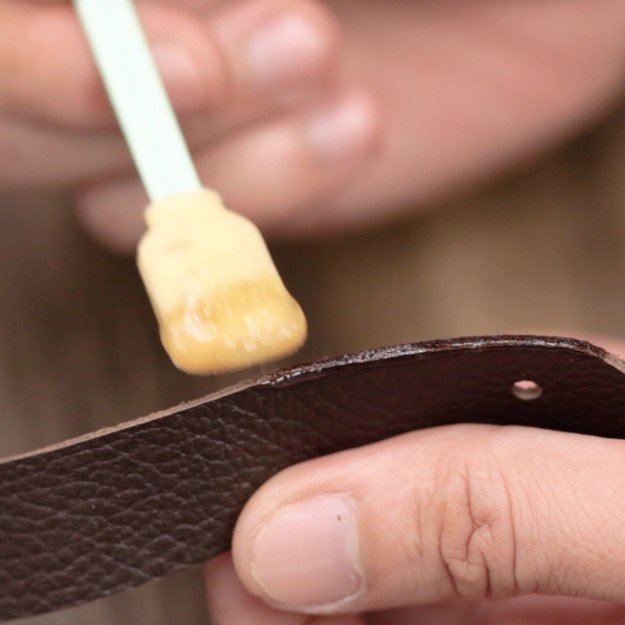
Step 6: Dip the wool dauber into the gum, then rub it against the outside edge of the leather.
Step 7: Run the Dremel leather burnisher along the edge of the leather.
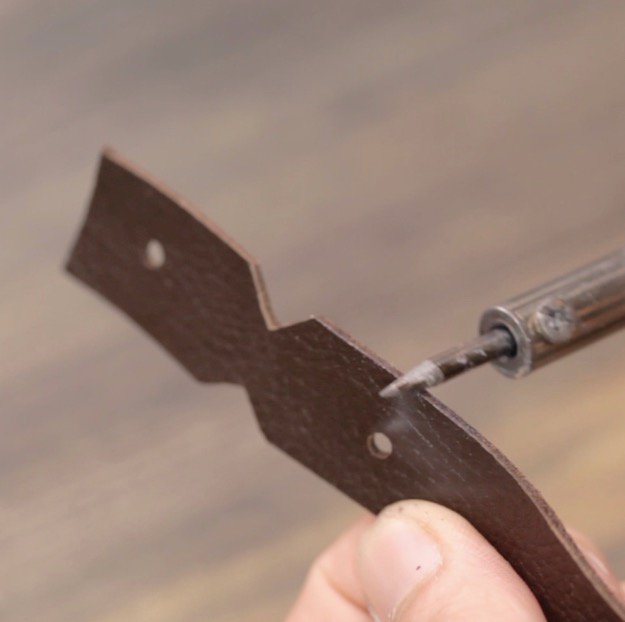
Step 8: Add the snaps, then hammer into place using the setting tool and mallet.
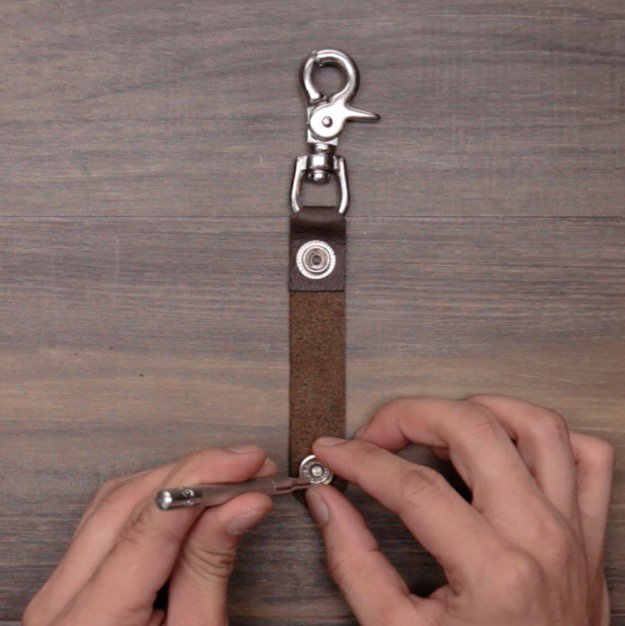
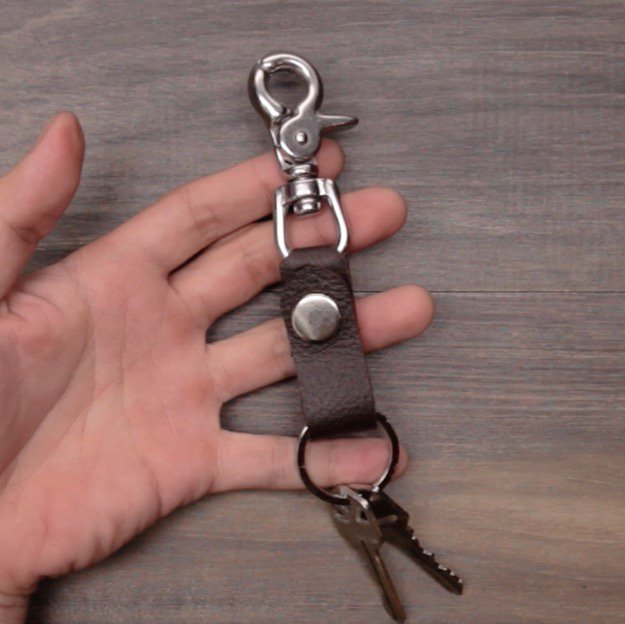
Step 9: Attach your key ring and keys!
Do you have any other simple leather-working tips? Leave a comment and let us know!
For more DIY and craft news, follow us on Facebook, Twitter, Pinterest and Instagram!
LIKE this? I’m sure you’ll LOVE:
How to Make a Leather Necklace
Awesome Leather Craft: Make Your Own Cable Organizer
