
Try This IKEA Hack Today To Maximize Your Shelves
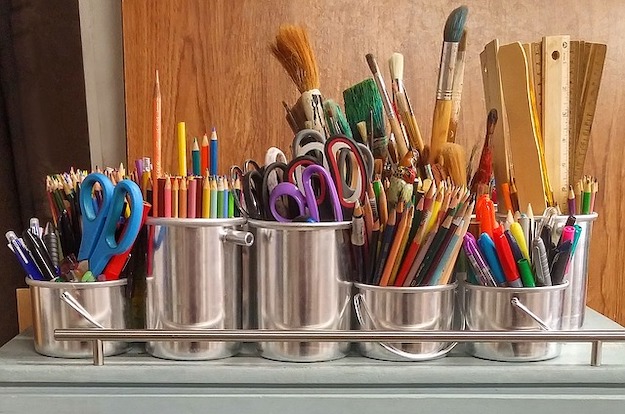
Have you ever been caught in a situation, wherein there is still some clutter found inside your organizers and shelves? This IKEA hack will save you from it! “Shelf divisions” would be a simple answer for this kind of call for help. Read on and allow us to show you the way to achieve the perfect storage area for all your nifty craft materials!
Try This IKEA Hack Today To Maximize Your Shelves
No matter how organized we are, there will always be those nights wherein after we make our masterpieces, we are all drained out and couldn’t bring our feet up to put all the things back to place anymore. The tendency? We stack them up in an empty shelf, and by the time we need them again, they are either folded or already in bad shape due to the “stacking up”. Does this sound familiar? Well, let me introduce to you this IKEA Organizing hack that will improve your Craft Room Storage Organizing level. It will not cost you a lot, but it will make you LEARN and ORGANIZE a lot!
Tools:
- Measuring Tape
- Saw
- Ruler
- Pencil
Supplies:
- Plywood
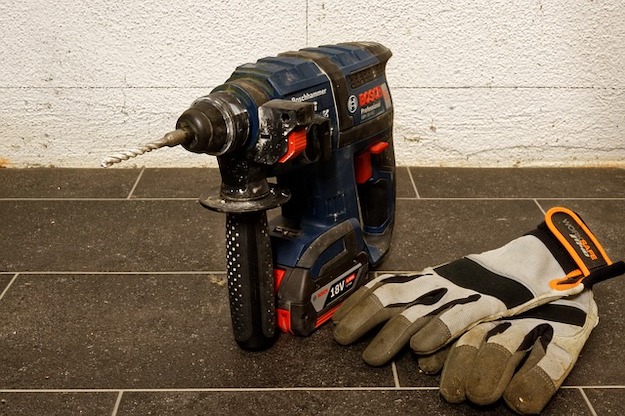
- Screws
- Paint
- L – shaped pins
Steps:
1. Remove clutter.
This will let you see the whole area where you will be working on.
2. Measure
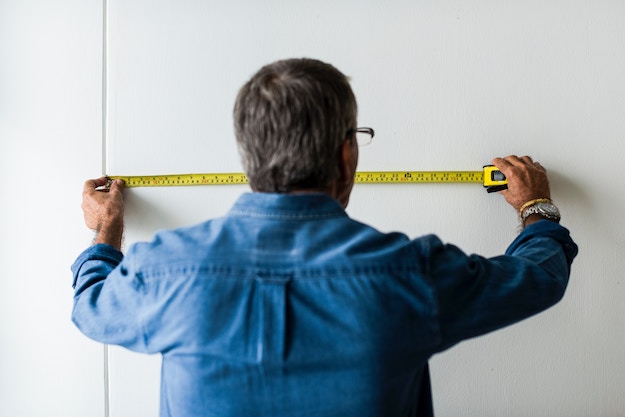
Get the width and height of the cube frame.
Determine the measurements for each level point where you will install the shelves.
3. Prepare the shelves
Cut the plywood to your needed length, based on the measurements you took from Step 1.
Paint the plywood pieces with the same color as your IKEA shelf in an open area, then set it out to dry.
4. Install the shelves
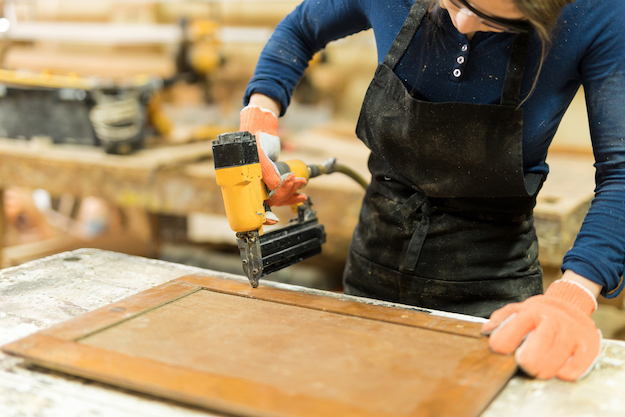
Mark the areas inside the shelf cube where you want to put the shelves, then drill the holes.
Attach the L – shaped pins that will hold your shelves.
Carefully put the shelves in, one at a time.
5. Organize your materials.
Now, you can just effortlessly slide in your left-over craft materials.
Here’s the full video tutorial for this IKEA hack from Anna Brim:
See? You didn’t break a sweat there, right? By keeping your clutter organized, getting back to them and reusing them for another project won’t be a problem anymore. It’s a great way of keeping your Craft Room clutter-free, and your clutter to be damage-free!
Click here for more DIY projects!
Like this? You’ll also like…
11 DIY Tool Kits | Tool Organizer Ideas You Can Do at Home
51 Terrific Ways To Upgrade Your Kitchen With DIY Projects